Planes, trains or automobiles—no matter which mode of transportation you choose, it can be somewhat of a challenge to ensure that you’ll have kosher food while traveling and upon arriving at your destination. Organization and advance planning are the keys to having a relaxing vacation, so it’s a good idea to prepare a list and keep it updated from one trip to the next. Here are some terrific tips so that you will truly be able to relax and enjoy. Pick and choose the best options for your needs. Safe traveling!
Cold Cuisine: Pack an insulated bag and freezer packs to keep your food cold for your trip. Easy choices include bagels with cream cheese, salmon or tuna salad, or assorted sandwiches such as chopped egg, cheese or peanut butter. Deli sandwiches are a favorite for a meat meal, and you can have sliced turkey or chicken for healthier options. Juice boxes and concentrated juice containers can be frozen to use as ice packs and then the defrosted juice can be enjoyed. Don’t forget the napkins and wipes for cleanup!
Sensible Snacks: Almonds, fresh or dried fruit (e.g., nectarines, plums, berries, dried apricots, cranberries or raisins), veggies (e.g., baby carrots, cherry or grape tomatoes, red pepper strips and miniature cucumbers) packed in Ziploc bags plus a container of hummus for dipping, string cheese, crackers and/or mini muffins make family-friendly snacks to enjoy along the way. Chocolate chip or oatmeal cookies are also long-standing favorites.
Fast Fixes: Salmon and tuna (often available in pouches so you don’t need a can opener) are great for a quick and simple meal when you arrive at your destination and don’t take up much room in your luggage. A whole kosher torpedo salami (don’t forget the knife!) travels well. Almond milk or soy milk comes in tetra packs and doesn’t require refrigeration until opened. You can often find kosher bread, crackers, milk, juice and snack foods at many convenience stores.
The Portable Kitchen: If you’re going to a bungalow or vacation rental, a “vacation box” can be packed with inexpensive kitchen equipment, such as:
• 1 medium dairy skillet and 1 large meat skillet
(or bring 1 pareve skillet, preferably nonstick)
• 1 pareve pot for pasta and soup
• Colander or strainer
• 1 or 2 saucepans (for boiling eggs, cooking vegetables)
• A big plastic salad bowl (or two)
• Disposable cutting boards
• A couple of sharp knives
• Soup ladles, tongs, metal spatulas, measuring equipment
• A few mixing bowls, spoons and rubber spatulas
• A grater, vegetable peeler, can opener, cheese slicer
• New sponges, dish soap
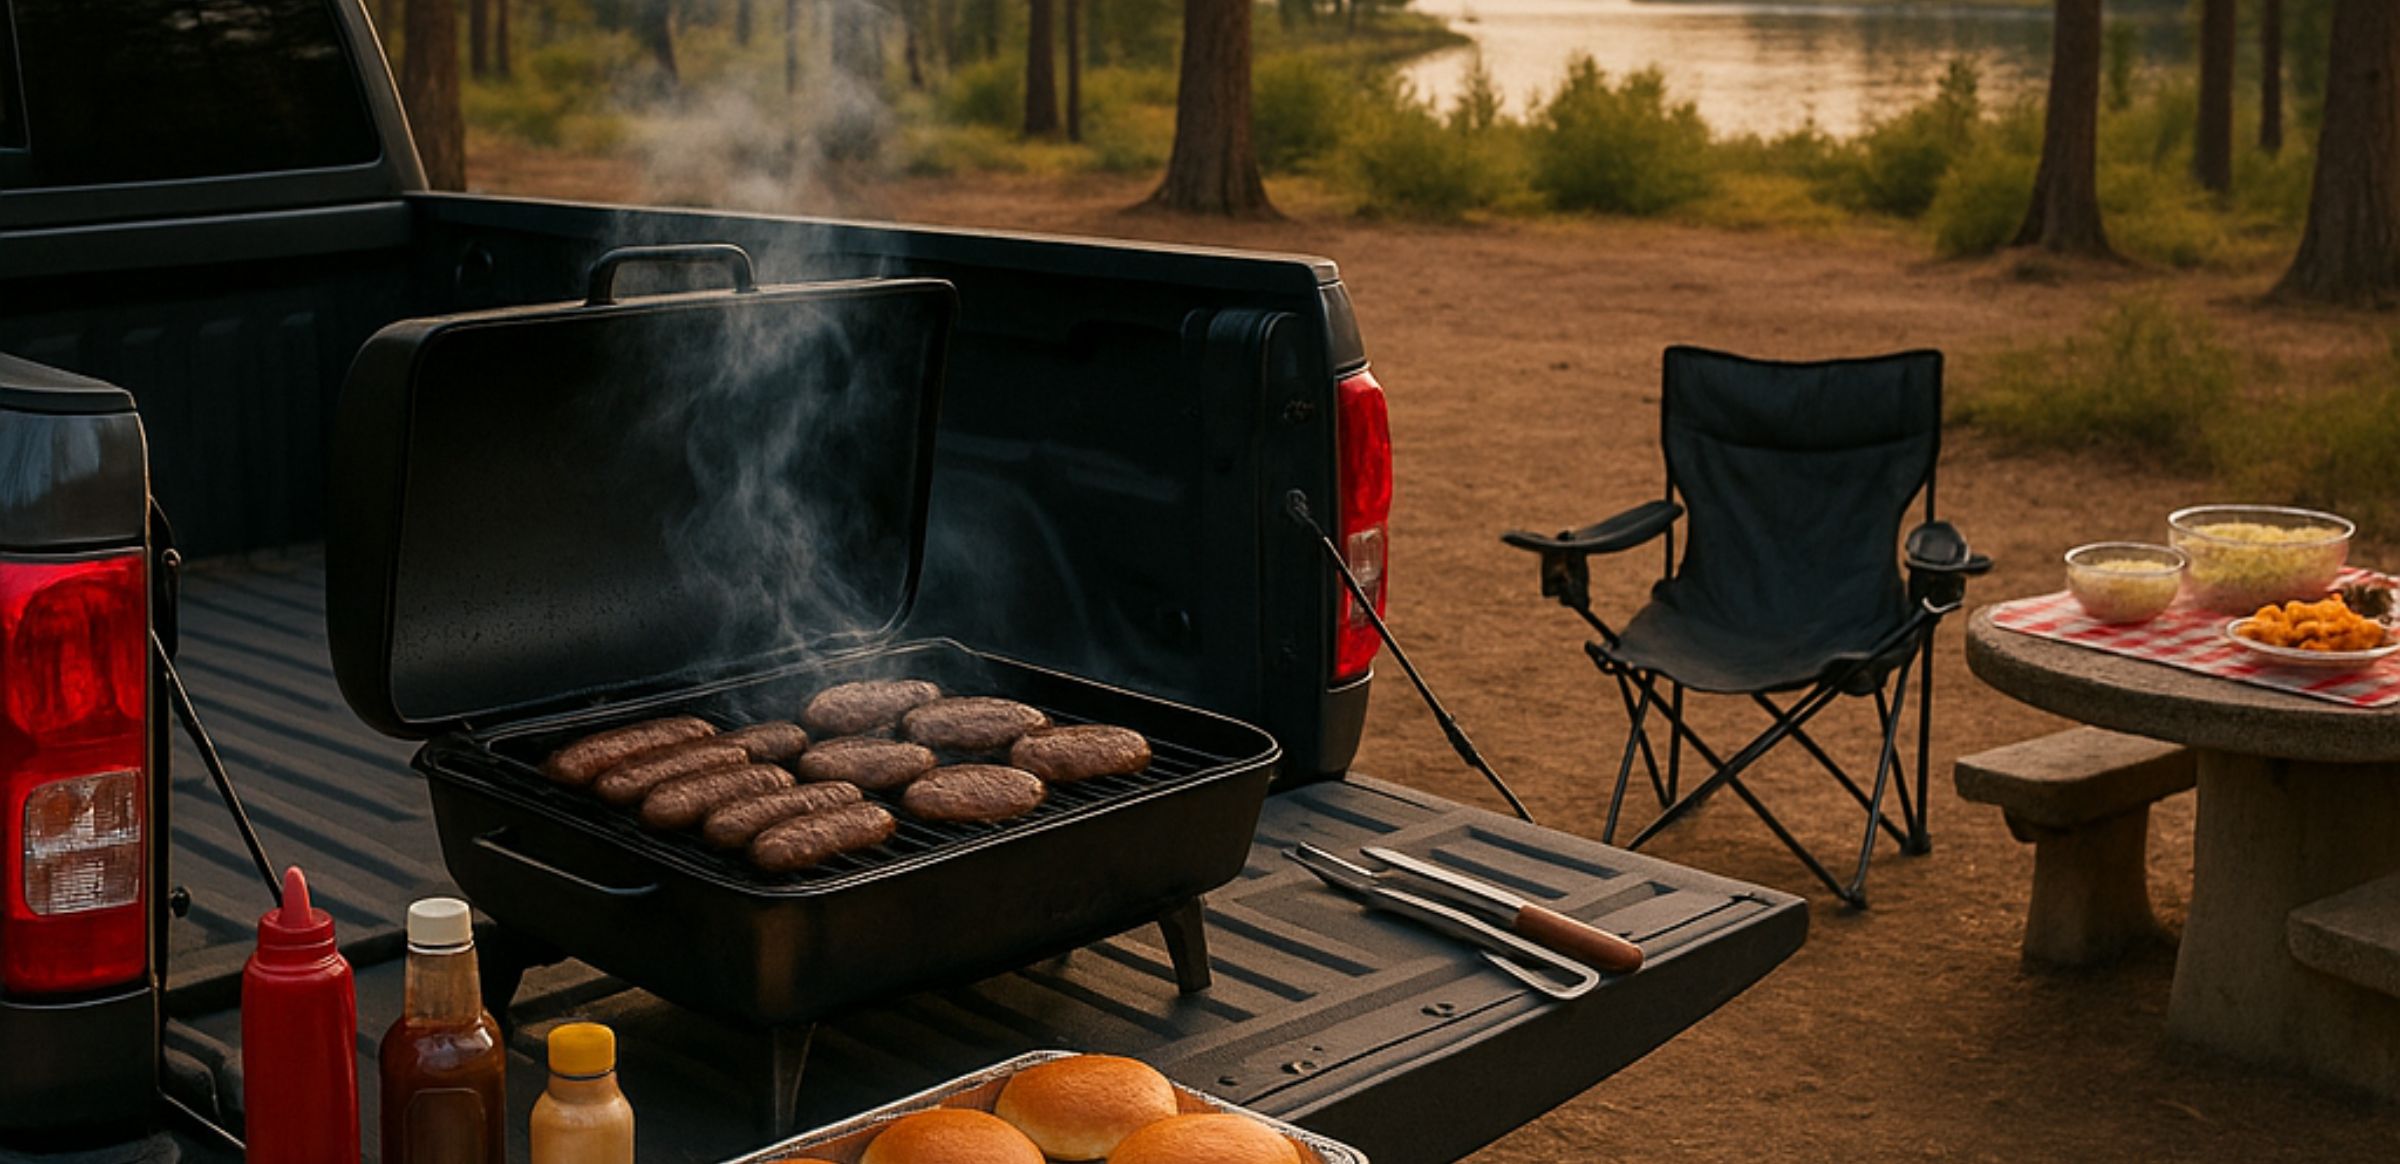
Consider bringing an inexpensive crockpot, electric grill and toaster oven. Portable barbecues are relatively inexpensive and are ideal for grilling burgers, chicken, steak, hot dogs, fish, vegetables and more.
Travel Recipes
CHICKEN IN THE BAG
Yields 8 servings
1 whole chicken (4 lb/1.8 kg), cut into pieces
1⁄2 cup white wine
1⁄4 cup apricot jam or preserves
2 tablespoons maple syrup or honey
2 tablespoons Dijon mustard
2 tablespoons soy sauce
1⁄2 teaspoon salt
1⁄2 teaspoon black pepper
1 teaspoon paprika
3 cloves garlic, minced (about 1 tablespoon)
1⁄4 cup sesame seeds, for sprinkling at cooking time
Rinse the chicken well and trim the excess fat. If desired, remove the skin.
In a large Ziploc bag, combine chicken with remaining ingredients except sesame seeds; seal tightly. Press on the bag to spread out chicken pieces so they are in a single layer. Marinate for up to 2 days in the refrigerator or freeze for up to 4 months.
When needed, place bag of frozen chicken and sauce in refrigerator and thaw for 24 hours.
Preheat oven to 350°F. Spray a large baking dish with cooking spray.
Empty contents of bag into prepared baking dish and spread out in a single layer. Sprinkle with sesame seeds.
Cover and bake for 1 1⁄4 hours, until tender. Uncover and bake 30 minutes longer, until the skin is golden, basting occasionally.
Boneless Breasts in the Bag
Use 10 boneless, skinless single chicken breasts. Bake uncovered at 375°F for 25 to 30 minutes, basting occasionally. Juices should run clear when the chicken is pierced with a fork.
Chef’s Secret:
Time It Right: It takes about 6 hours per pound to thaw frozen chicken in the refrigerator. To speed things up, place the sealed plastic bag of frozen chicken under hot water for 30 seconds to warm and loosen contents from the bag. Transfer chicken to a microwaveable bowl. Set the microwave oven to defrost (30 percent power), calculating 5 to 7 minutes per pound. It will take about 25 to 30 minutes to thaw. If thawing chicken in the microwave oven, cook it as soon as it has thawed.
ASIAN SLAW
This delicious dressing can be made a few days in advance and refrigerated until needed. You only need half the dressing for the coleslaw, so use the rest on your favorite greens. Half the work with double the pleasure!
Asian Dressing
Yields about 1 1⁄2 cups dressing
1 teaspoon minced garlic (about 1 clove)
1⁄2 cup canola oil
1⁄2 cup rice vinegar
1⁄4 cup soy sauce
1⁄4 cup honey (or to taste)
1 tablespoon sesame oil, optional
Combine all ingredients for dressing in a glass jar or leak-proof container. Seal tightly and shake well. Refrigerate until needed. Shake well before using.
Note: Keeps about 10 days in the refrigerator.
Coleslaw Mixture
Yields 12 to 16 servings
1 head green cabbage (about 3 pounds)
1⁄2 green bell pepper, chopped
1⁄2 red bell pepper, chopped
2 carrots, grated (about 1 cup)
2 teaspoons minced garlic (about 2 cloves)
4 green onions, chopped
1⁄2 cup toasted slivered almonds, for garnish
Discard outer leaves of cabbage. Cut cabbage in half through the stem end. Cut out and discard the hard core at the base of both halves. Slice the cabbage crosswise as thinly as possible into shreds. You should have about 10 to 12 cups. Place in a large bowl. Add peppers, carrots, garlic and green onions and mix well.
Drizzle 3⁄4 cup dressing over coleslaw and toss to combine.
Refrigerate until well-chilled, 1 to 2 hours or overnight.
Garnish with slivered almonds at serving time.

Peanut Butter Pasta. Photos: Estee Gestetner
PEANUT BUTTER PASTA
Yields 6 to 8 servings
This vegetarian dish is fabulous either hot or cold—everyone is nuts about it!
1 cup Peanut Butter Sauce (see below)
2 tablespoons olive or canola oil
2 medium onions, diced
1 red and 1 yellow bell pepper, diced
2 cups sliced mushrooms
1 package (12-ounce) penne or bow tie pasta
Salt and pepper to taste
Prepare Peanut Butter Sauce as directed below. (Can be prepared in advance and refrigerated until needed.)
Heat oil in a large non-stick skillet. Sauté onions and peppers on medium-high heat until tender, about 5 minutes. Add mushrooms to skillet and sauté 3 or 4 minutes longer.
Meanwhile, cook pasta according to package directions. Reserve 1/2 cup of the pasta cooking water. Drain pasta well but do not rinse.
Combine pasta with reserved cooking water, sautéed vegetables and 1 cup of Peanut Butter Sauce; mix well. Season with salt and pepper.
Note: Leftovers will keep 2 or 3 days in the refrigerator. Reheats quickly in the microwave.
Peanut Butter Sauce
Yields 1 cup
This scrumptious sauce is excellent over pasta and can also be used as a marinade or dipping sauce for chicken. You can even transform it into Satay Salad Dressing (below). So versatile!
2 teaspoons minced garlic (about 2 cloves)
1⁄2 cup smooth peanut butter
3 tablespoons soy sauce
1⁄4 cup sugar
2 tablespoons rice vinegar or wine vinegar
1 teaspoon minced ginger, optional
5 or 6 drops hot sauce (e.g., Tabasco)
2 teaspoons sesame oil
1⁄4 cup cold water (approximately)
Combine all ingredients in a large bowl and blend with a whisk until smooth (or process in a food processor fitted with a steel blade). If sauce is too thick, thin it with a few drops of water.
Note: Keeps 1 to 2 months in the refrigerator in a tightly closed jar or airtight container.
Satay Salad Dressing
Add 1⁄4 to 1⁄3 cup unsweetened pineapple juice to Peanut Butter Sauce to make a luscious salad dressing.

Berry Crisp
ANY KIND OF FRUIT CRISP
Yields 8 to 10 servings
I use whatever berries are in season for this fast, fabulous crisp. If you’re missing one kind of berry, just use more of another. If using frozen fruit, there’s no need to thaw it first. If you don’t have apples, substitute peaches, nectarines or plums—or just use more berries!
Filling
2 cups fresh or frozen strawberries, hulled and sliced
2 cups fresh or frozen blueberries
1 1⁄2 cups frozen cranberries (no need to thaw first)
2 or 3 apples, peeled and cored
1⁄2 cup flour (all-purpose, whole wheat, spelt or gluten-free)
1⁄3 cup brown or granulated sugar
1 teaspoon ground cinnamon
Topping
1⁄4 to 1⁄3 cup brown sugar, packed
1⁄2 cup flour (all-purpose, whole wheat, spelt or gluten-free)
3⁄4 cup quick-cooking oats
1 teaspoon ground cinnamon
1⁄4 cup canola oil, melted margarine or butter
Preheat oven to 375°F. Spray a 10-inch glass pie plate or ceramic quiche dish with non-stick spray. (You can also use a disposable foil container.)
Combine ingredients for filling in a large bowl and mix well. Spread filling evenly in baking dish.
Combine all ingredients for topping in the same bowl.
Topping can be prepared in advance, placed in a Ziploc freezer bag and frozen until needed—no need to thaw it before using!
Carefully spread topping over filling and press down slightly.
Bake for 40 to 45 minutes, until golden.
Serve warm or at room temperature. Delicious topped with a scoop of ice cream or yogurt.
Note: Freezes well.
Berry Peach Crisp
Instead of the above fruits in the filling, substitute 4 cups peeled, sliced peaches (or a combination of peaches, nectarines and plums) and 3 cups blueberries (or desired berries). Add the juice of half a lemon. Assemble and bake as directed above. If necessary, cover loosely with foil to prevent overbrowning.
Norene Gilletz, a”h, served as Jewish Action‘s food writer for many years. Versatile and talented, Norene was a culinary consultant, bestselling cookbook editor and writer, lecturer and culinary spokesperson.